How To Build A Pizza Oven In A Few Easy Steps
A traditional wood-fired pizza oven, or more commonly known as masonry oven, is a type of cooking equipment which consists of a baking chamber made out of bricks, clay, concrete, stone, cob or ceramics. It is commonly made with a simple floor of fire bricks and is fueled by firewood. It is designed specifically for making pizzas, however, a variety of meals can also be cooked depending on the temperature the oven has. Here are some details showing you how to build a pizza oven to get a new social interaction with family and friends.
We went for a project showing how to build a traditional clay oven. For a start, decide where to site your oven. Unlike a barbecue, you can’t move a pizza oven around the garden once it’s built. Choose an area with plenty of space around it – somewhere in full sunlight is good. After you picked the site, then build the base or the plinth which is the foundation of the oven and, therefore, has to be solid. You can build the plinth frame out of bricks, breeze blocks or wooden sleepers such as in our project coming via Deliciousmagazine.co.uk.
After clearing the ground and dig a shallow trench 120cm x 120cm square. If you build the frame from bricks, or breeze blocks, use cement. If you’re using wood, screw the pieces together to form a solid, square box approximately 1m high and 120cm square. Insert a layer of rubble and stones in the center, then add a layer of sand and glass bottles. These will act as a heat sink, warming up, then radiating heat back up through the oven. Finally, top with a layer of smooth, solid bricks to form the oven floor which actually is the surface you’ll cook on, so the bricks need to fit snugly together.
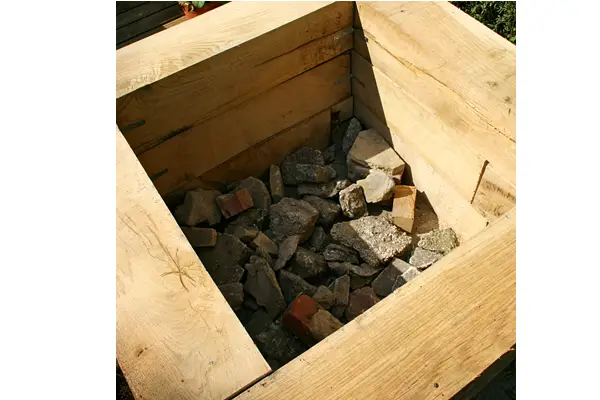
How to build a pizza oven – build the base for a start
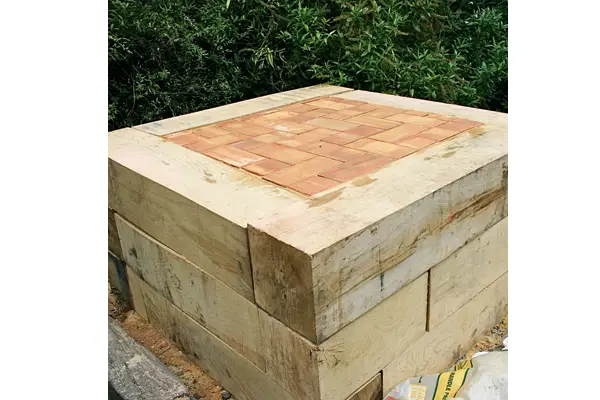
The next step is building the dome of the oven which is actually the oven itself. Use damp sand to make the dome mould which will be centered on the plinth and built like a giant sand castle on the beach, making sure it’s round. Cover the dome with wet newspaper to prevent it from drying too quickly.
Start applying 7-10 cm thick layers of clay mixed with sand over the damp sand dome, starting from the base and over the newspaper coating. After the dome is completely covered, smooth the surface outside for a better look and leave the clay to dry for about four hours. Then, using a kitchen knife, cut out the entrance to your oven to be big enough to fit a roasting tray through it, but small enough to keep the heat in. Once you’ve cut the entrance, scoop out the sand inside. Let the dome dry overnight and, the next morning, light a small fire inside to help dry out the clay further.
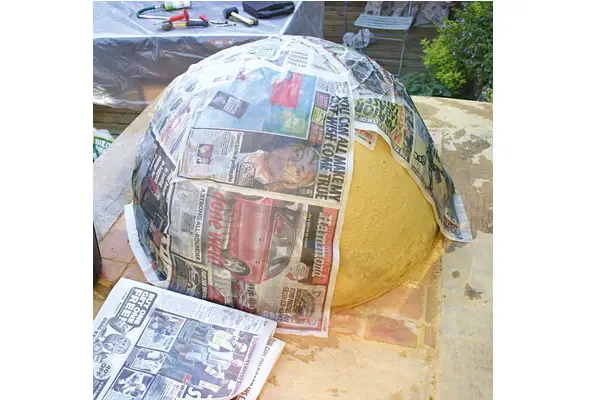
How to build a pizza oven – the dome made of damp sand
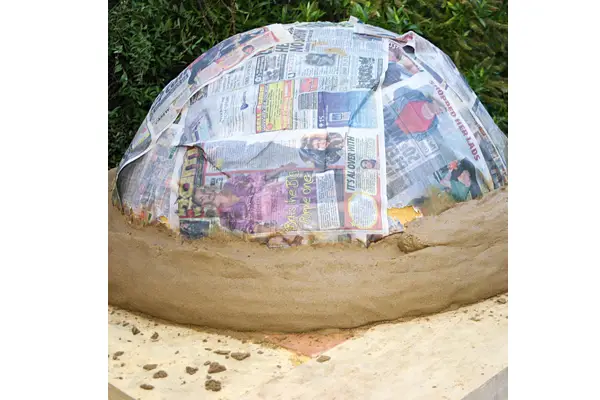
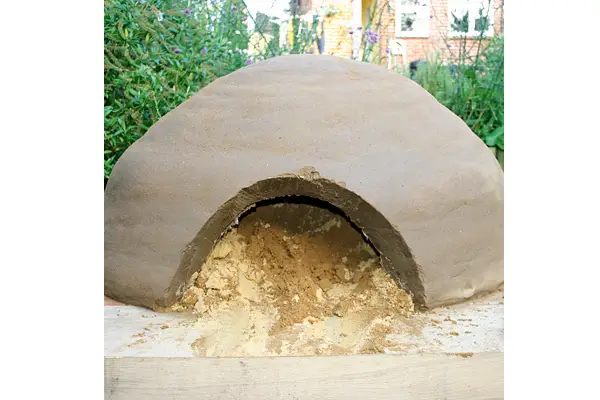
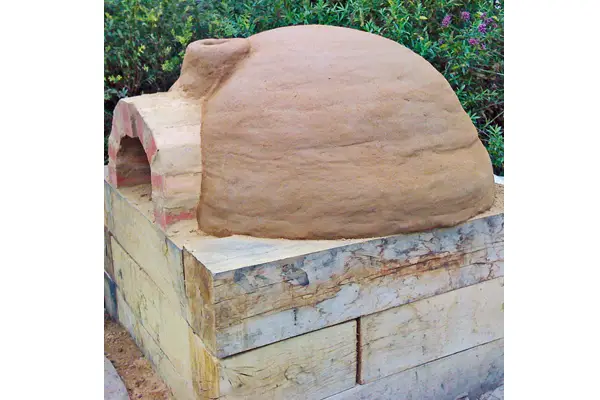
Finally, build a brick arch around the entrance using clay and sand to keep the bricks together and secure the arch. Cut a hole in the roof the arch where the arch joins the dome and build a clay collar to hold the chimney which you can buy or leave the hole as it is, as seen in the picture, with rings of clay around.

How to build a pizza oven – the final touches
