Making A Pumpkin Keg – A Seasonal DIY Project
Since it’s autumn and the wine is now the drink of choice, this calls for a DIY project going very well with this generate state of exuberance. While others show their skills in carving pumpkins preparing them for the Halloween, we’ll show you another project, more practical, and which will surely find a place in your kitchen or living – a pumpkin keg. There’s no doubt your friends will love this. Here is what you have to do, as seen on Thrillist.com:
You just need a pumpkin, the bigger, the better. You also need a spigot which you can buy from specialized stores. The first step is drawing a circle around the top of the pumpkin. This will help you make a fine clean cut to remove the top. It is important to make an almost perfect cut so that the lid will cover the keg in the best way possible to prevent air from going in.
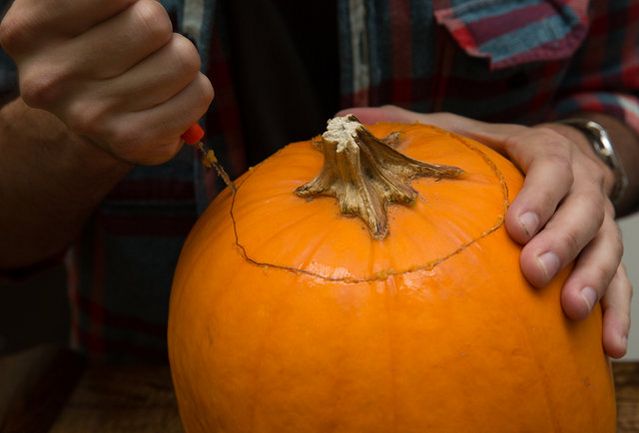
Making a pumpkin keg – cut the top off
The second step is cleaning the interior of the pumpkin. Use a metal spoon to do this, cleaning the seeds and the soft parts very well. This will prevent the liquid you will pour inside from mixing with some leftovers. You may let the pumpkin dry for a while before using it. You can keep and dry the seeds to roast later or plant them for a new season of home-made “kegs”.
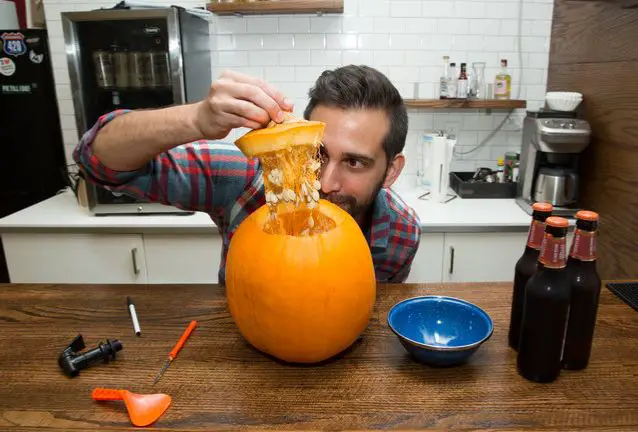
Making a pumpkin keg – remove the seeds
The third step is again outlining the spigot with a marker. Draw carefully so that you can jam the spigot inside and make it fit snugly to avoid losing liquid. Put the spigot in the lower part of the pumpkin so you can access all the liquid but not too low to prevent the pumpkin from standing upright.
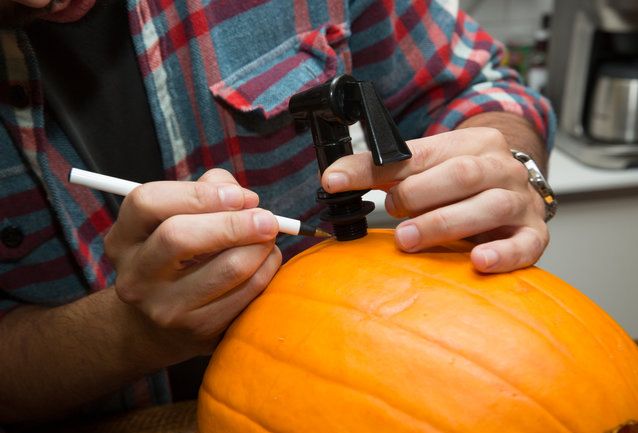
Making a pumpkin keg – outline the spigot
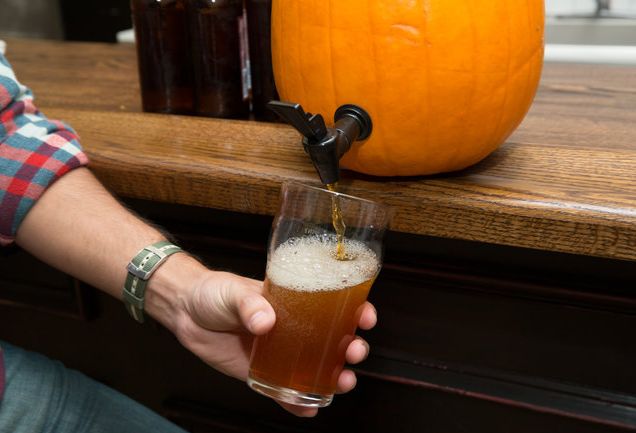
After you cut out the circle, jam the spigot by twisting it. The little keg is now ready. Just pour beer or wine or any other beverage of choice into it and enjoy this original accessory with the family and friends.
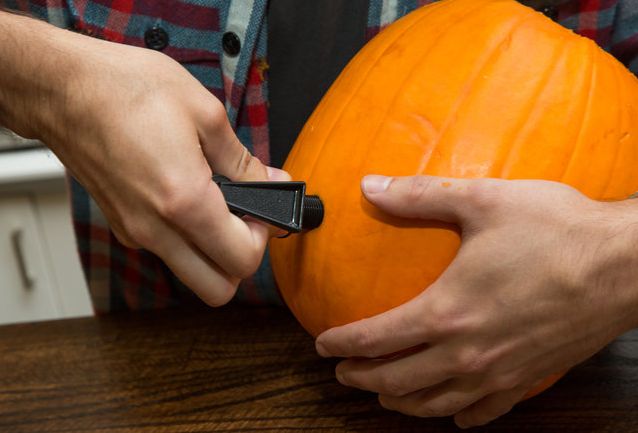
Making a pumpkin keg – jam the spigot by twisting and the keg is ready
