How To Build A Wooden Shed In Easy Steps
A wooden shed is always a useful structure, solving a lot of storage needs, especially if you are a passionate gardener or handyman, with many tools and much equipment to lodge. Bicycles, scooters and other large objects can also be stored in such a structure which can be easily built by following a few steps. Moreover, the shed can also turn into a workshop where you can fix things or take care of other projects needed at home. Below are the detailed steps showing you how to build a wooden shed, as seen on Wikihow.com, which will take the storage burden off your chest.
The shed detailed here is one built on deck piers to protect the structure from excessive moisture. The piers will allow you to string support beams beneath the floor of the shed. In the example design, the piers are spaced 6 feet apart in one direction and 4 feet apart in the other for a total grid area of 12 x 8 feet. Add the support beams lengthwise across the deck piers. This will support your floor joists, which run in the opposite direction. The easiest way to attach the beams to the piers is with metal straps, which have built-in nail holes.
Next is attaching a rim joist along the outer edge of each outermost support beam. Each of these will need to be the same length as the beam underneath, but slimmer than them. These will support the ten floor joists you will add next. To keep the floor joists from moving, install a piece of blocking between each pair of floor joists along the center support beam.
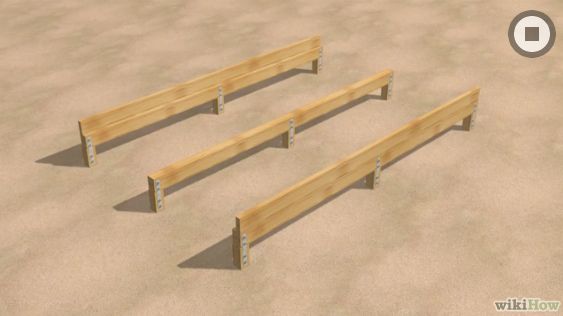
How to build a wooden shed – the five supporting beams
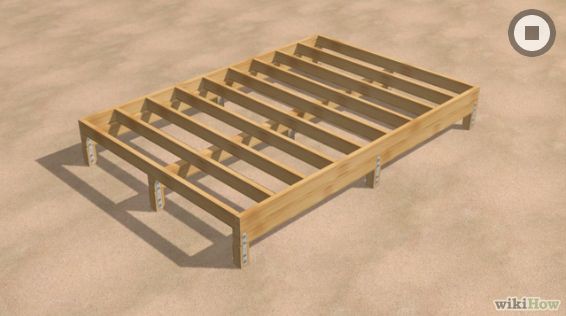
How to build a wooden shed – the floor plan
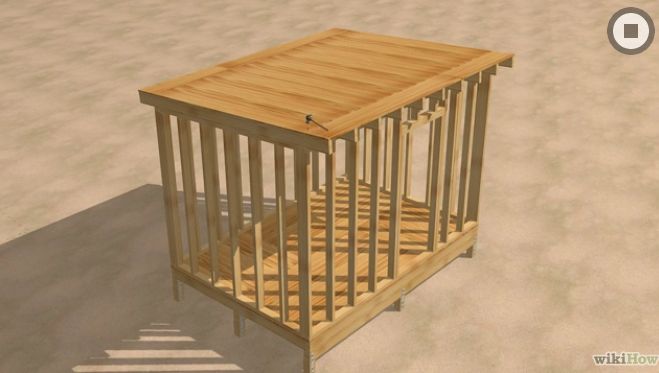
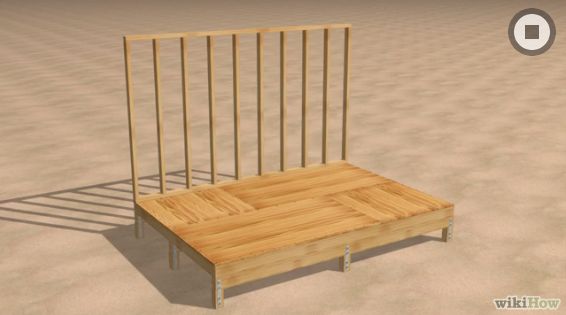
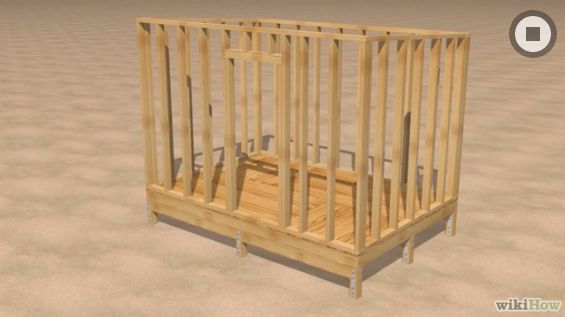
In the next stage, cover the whole floor surface with plywood sheets. Specialists recommend the pieces of plywood to be misaligned so that the floor doesn’t have a single seam running across the whole thing, which would be a significant structural weakness. Then move on to build the framework of the four walls, keeping in mind the particularities of each of them. For instance, the front wall will have a door frame while the back wall will be lower so that the roof will be sloped to prevent rain from collecting on it. Consider this when building the side walls framework.
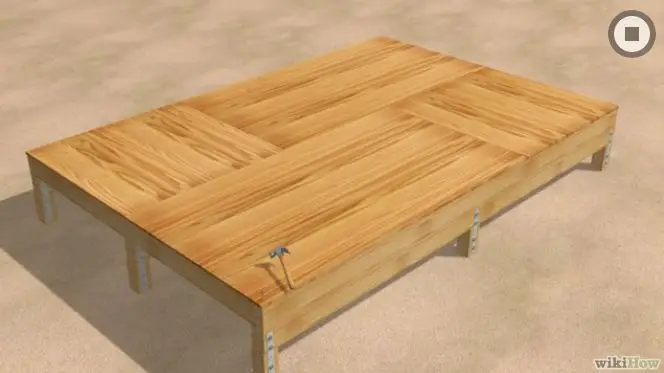
How to build a wooden shed – the next steps, in images

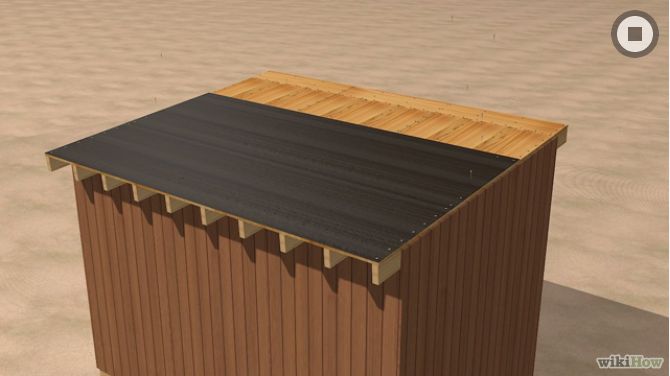
Moving on, build rafters across the roof and separate them with the same blocking you used for the floor. These should overhang the walls of your shed for increased weather protection. Cover the whole surface with plywood sheets again. In the final stages of the project, cover the walls with plywood or any other materials, such as polycarbonate sheets. In the end, add tar paper to the roof, starting from the lower end and making sure the sheets overlap to keep the rain water out.
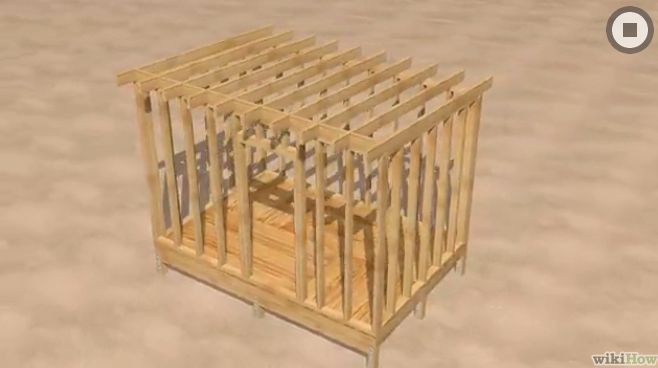
How to build a wooden shed – walls and roof