How To Build A Garden Bridge With An Arch
A garden bridge brings, first of all, a plus of aesthetics in your garden which, later on, enhance the value of your property if you think of selling it. Over a course of water or a fragmented terrain, the small bridge makes a fine accent in the green landscape and gives the garden an elegant look, especially if doubled by a discreet gazebo. Below we can see several designs, but also some technical details showing you how to build a garden bridge with an arch.
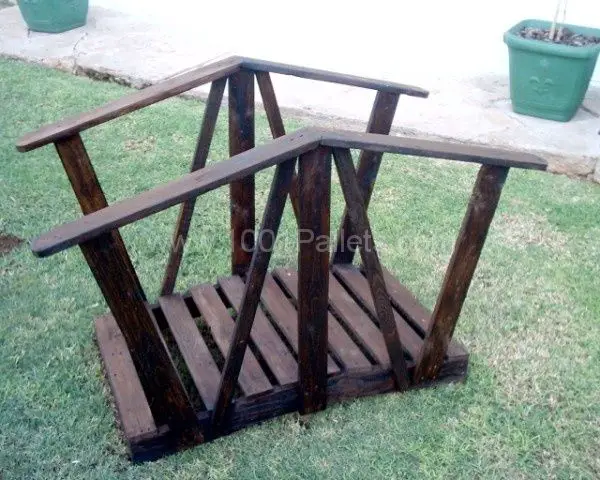
Depending on the space you have in the garden, but also the width of the water course it will cover, the garden bridge can take various shapes, from a simple to an elaborate design, as you can see in the images below. It can be a rail bridge or just several boards nailed together over two arched stringers.
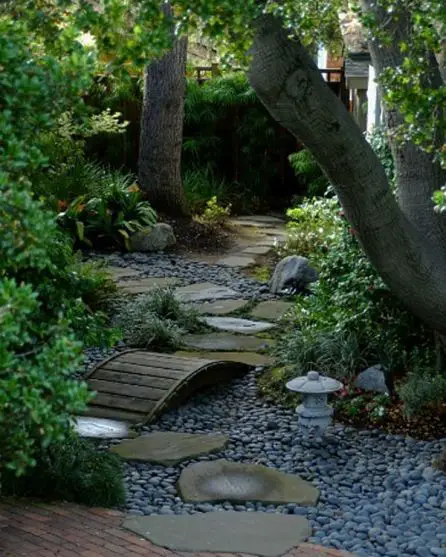
How to build a garden bridge with an arch – different shapes, same purpose
If you look for something more durable, with a rustic look, then find your inspiration in this next image where a short but solid bridge, expanding into a wooden fence on the side of the water course, perfectly completes the picturesque landscape.
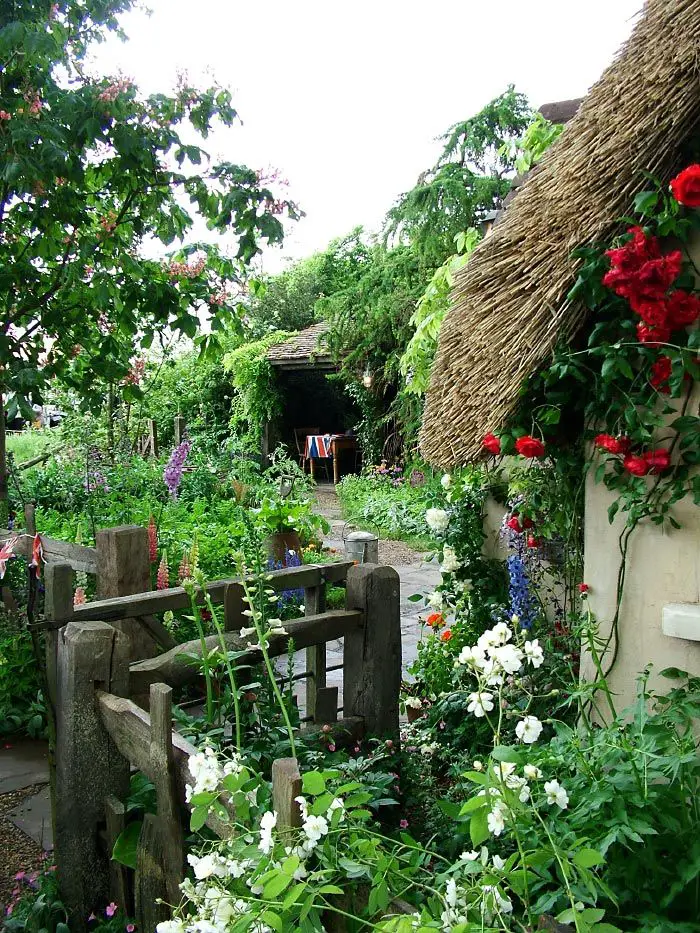
How to build a garden bridge with an arch – a picturesque landscape
For those who are more demanding, the bridge in the image below is a tasteful option. The wood’s natural color comes to break up the chromatically dominating green, giving the space a warmed and friendlier aspect.
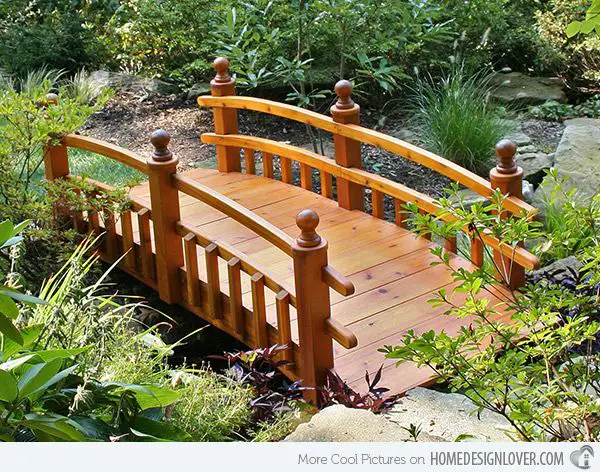
How to build a garden bridge with an arch – consummate elegance
Those who want to build such a bridge by themselves, these DIY garden bridge plans are a truly helping hand, sketching the main steps to follow. First of all, you need to build the stringers of the bridge, the two side boards supporting the bridge. In order to draw the arches, you could either free-hand trace the arch or use nails, a string and a pencil. Leave at least 15 inches from the end of the boards, in order to obtain a good support. After you draw the cut lines on the beams, cut along those lines, making sure the two stringers will have the same shape in the end.
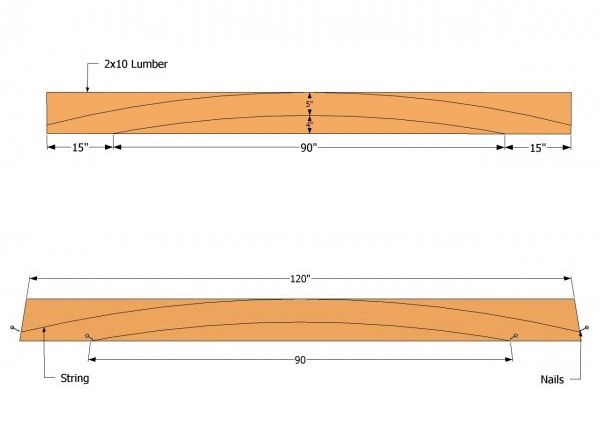
How to build a garden bridge with an arch – draw and cut the arch lines
Sand the edges then with medium-grit sandpaper to give the boards a finer look. The next step concerns installing the side wooden slats. First of all, you need to secure the frame of the arched bridge in several places, as in the image shown below. In this manner, you can make sure the stringers are plumb and equally-spaced for a visually balanced bridge.
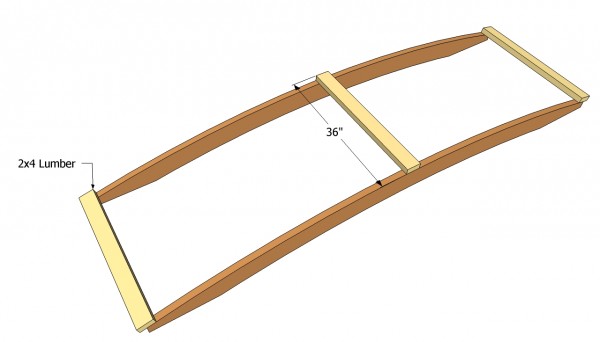
How to build a garden bridge with an arch – add the cross slats
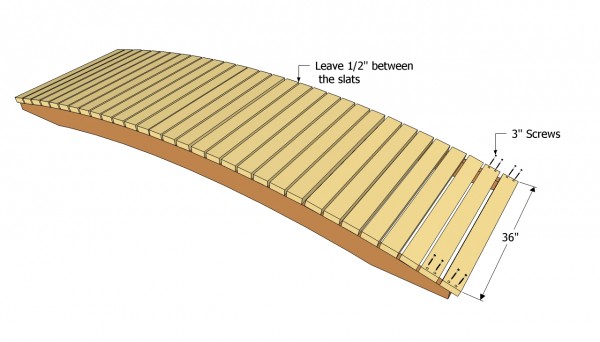
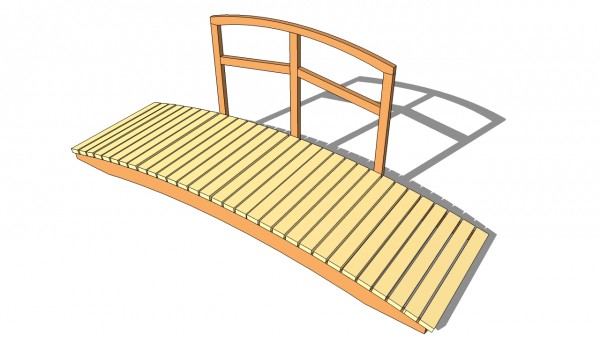
If you want to give the bridge more personality, you can also build the wooden railings or at least one on the side of it.
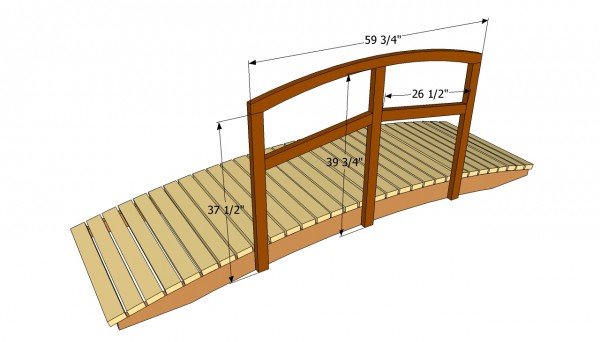
How to build a garden bridge with an arch – the final structure
Sources: Myoutdoorplans.com, Pinterest.com
