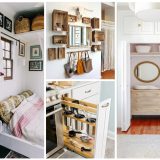
Building a Sliding Door In Easy Steps
The open space concept remains as popular as ever. But in time, as the family expands, you get to look for more intimacy and, invariably, more doors inside your home. But what do you do with those nice looking arcades, but which fail to provide the much-sought intimacy? One option is to keep them, but cover them with a sliding door, as we can see in this DIY project detailed below and seen on Hgtv.com.
The project came up after a Californian couple moved into a new home. All fine until they realized the archway between the bedroom and the bathroom didn’t suit their liking, despite looking charming. They started working to build a sliding door with whatever materials they had within reach. The final result, as you can see, fits the room very well, in all aspects, especially chromatically.
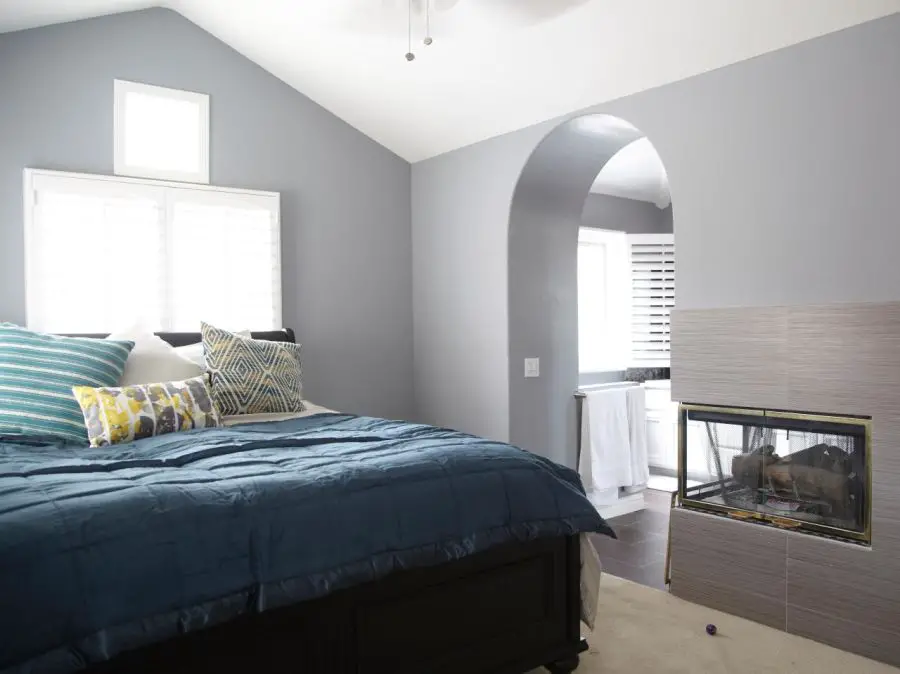
Building a sliding door – the archway to be covered
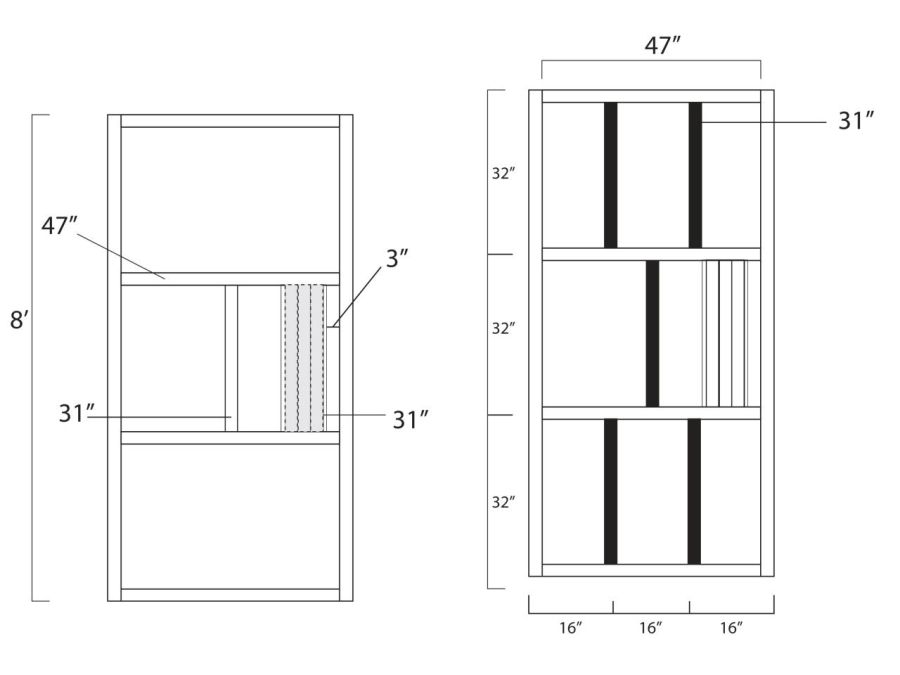
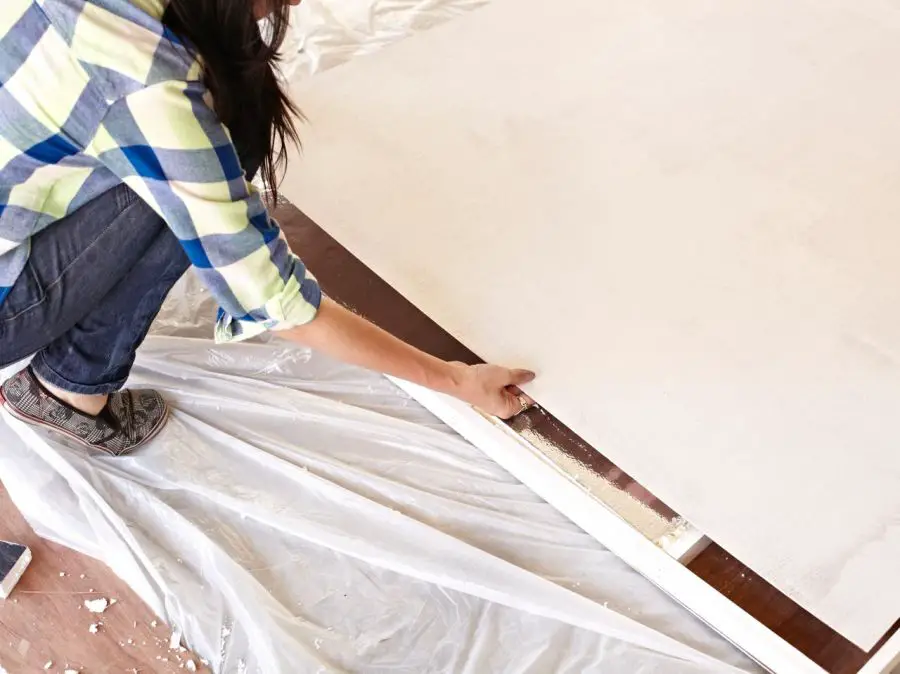
The first step is measuring the door opening, keeping in mind the sliding door should overlap it by at least two inches on all sides. Use pieces of wood to build the door outer frame in a rectangular shape. Use other two pieces of wood to make the horizontal supports in the interior frame. When you install them, they should divide your door horizontally into thirds. In each section, cut and add pieces of boards to tie into the horizontal pieces to create more support. This will give your door structure in the end.
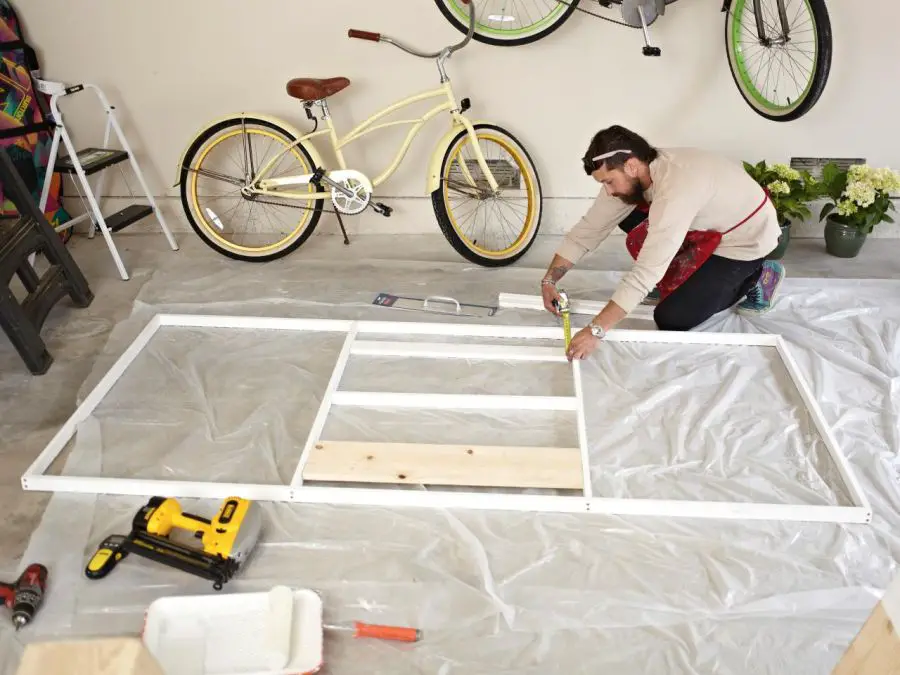
Building a sliding door – build the frame first
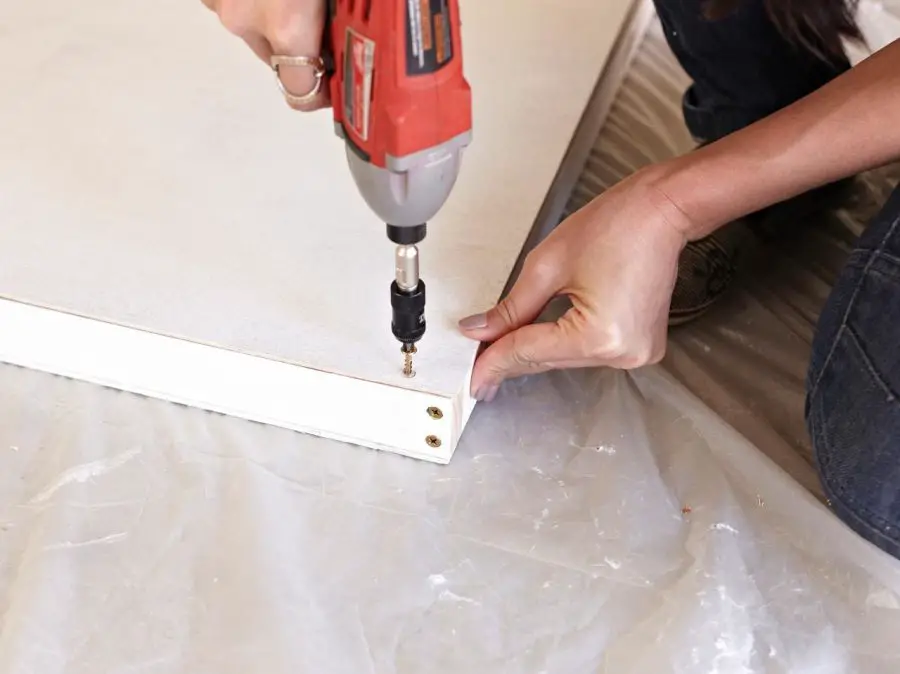
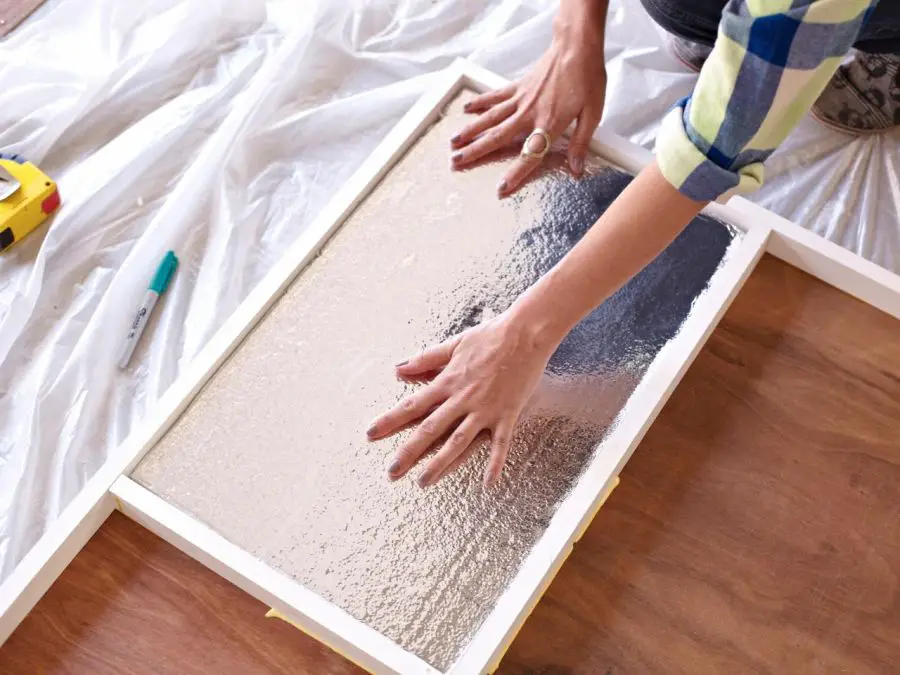
After building the frame, apply the plywood sheet to the back of the door. Then turn the door upside-down and fill the three equal structures of the outer frame with expanding foam to insulate the door. After this step, apply the other plywood piece and you get the door almost done. Secure both sheets with wood screws.
Building a sliding door – fill the spaces inside with insulating foam
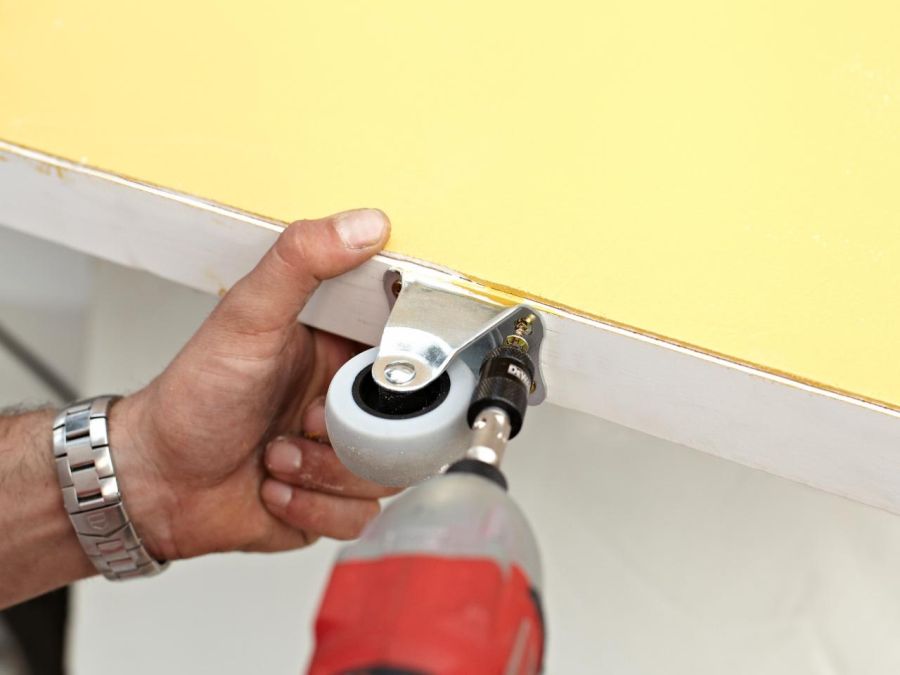
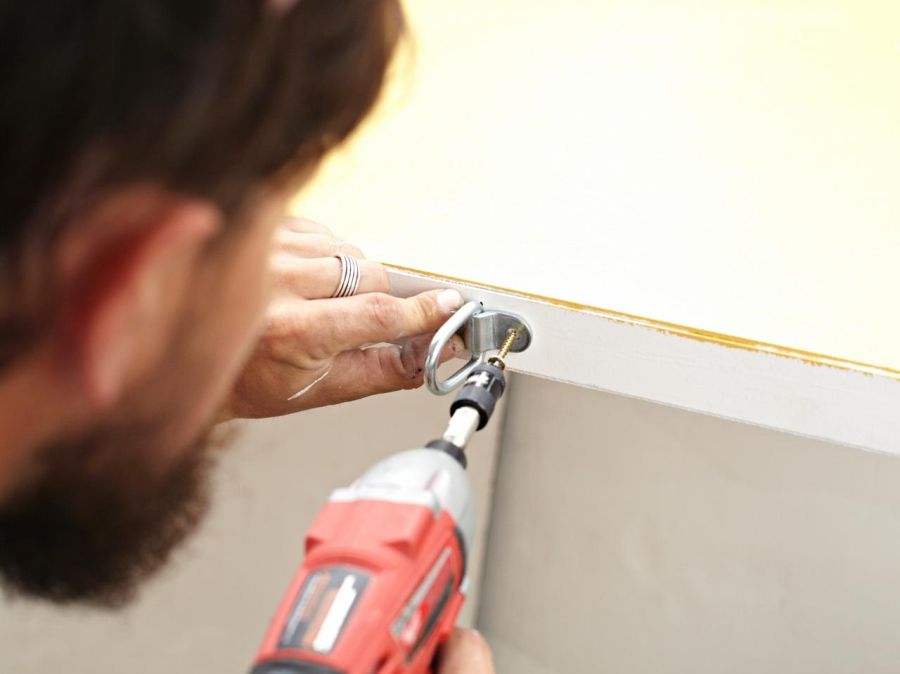
After painting the door, attach the rolling casters at six inches from each end of the bottom of the door. On the top end of the door attach the circle brackets which will fix the door on the metal pipe above. Keeping the pipe inside the brackets, hold the pipe up as high as it will go and measure from the bottom of the casters to the middle of the galvanized pipe. This measurement will provide the correct height at which to attach your round base plates to the wall.
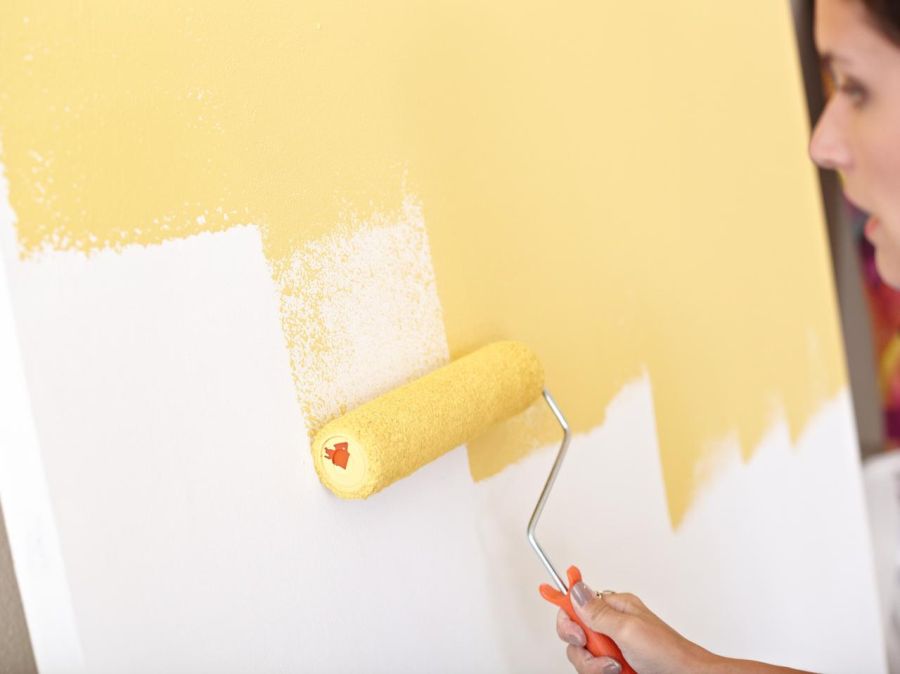
Building a sliding door – paint and then attach the rolling casters and the circular brackets