Upside Down Gardening – Brief Practical Guide
If you want a garden that involves low maintenance and less work that what a classical garden implies then upside down gardening is the right choice. We will take a close look at the pros of this unusual type of gardening which also makes a fine choice for those fond of growing plants on their balconies.
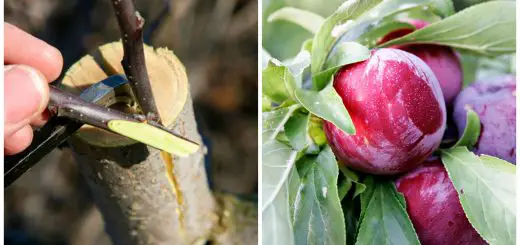
Here is a brief guide, as seen on Gardeningknowhow.com Growing plants upside down has numerous benefits for both the gardener and the plants, of which includes the elimination of grueling gardening tasks such as tilling, weeding, or staking plants. Moreover, watering is much easier, and the plants are more vigorous. Since plants hang above the ground, there’s no worries associated with their fruits touching the soil, which significantly diminishes the chances of rotting or attacks from pests. Tomato and cucumber plants are most commonly grown upside down, but a wide assortment of plants can benefit from upside-down gardening, from vegetables to herbs and a variety of flowers too.
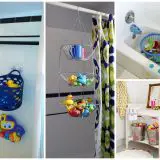
For a start, you some large hanging containers, potting soil amended with compost, and plants. For larger plants and crops, such as your tomatoes and cucumbers, for example, most people prefer using an ordinary 5-gallon bucket. Buckets are not only easy to come by, as most of us more than likely have one or two already on hand, but they are also sturdy and great for hanging. Alternatively, you can use large, plastic hanging baskets as well as smaller versions for smaller plants.
After you have chosen suitable containers, you’ll have to drill a hole into the bottom. Typically, the hole needs to be about 2 inches for large containers and buckets and slightly smaller for others, depending on their size. It often helps to have a place to hang these containers while preparing your upside-down garden, as you’ll need to flip the container back over (right side up) for plant placement.
Find something to place into its bottom, such as a small piece of newspaper, landscaping fabric or a coffee filter, before placing the plant inside. This will be used for anchoring the plant in place until it’s strong enough to hold its own. It will also prevent the soil from washing out through the hole during watering. Place a slit in the material for the seedling (or small plant) to maneuver through and then carefully guide the plant down into and through the hole, upside down. As you hold the plant’s root ball in place, begin filling in around it with the soil/compost mix, taking care to tamp the soil as you go. Continue filling the container with soil just until you reach about an inch or so from its rim.
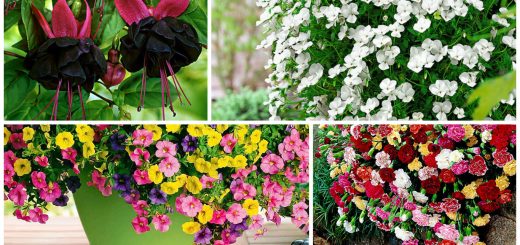
To make the best use of the space, add some low-growing plants in the top portion of the container. This can range from small crops, like lettuce, to a handful of herbs, like basil and parsley. You could also choose to place an attractive flowering plant, such as petunia, into the top as well.