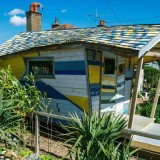
Building An Outdoor Brick Barbecue In A Few Easy Steps
A garden, besides being the relaxation space of choice, should also take on a practical role in the household. If the surface allows you, build an outdoor brick oven, a process that will require a little physical effort indeed, but in the end it is worth every effort when the new accessory in your green space gathers family and friends around it. Besides different models of such outdoor brick ovens, here are some concise practical information about building an outdoor brick barbecue.
The project we picked comes via Diydoctor.org.uk. Firstly you need to decide where to build your barbecue. The one drawback of a brick BBQ is that you can’t move it around, so think about the location carefully. You want to place it near enough to the house so that it’s easy to fetch everything you need, but not so close that the smoke will blow into the house!
Make sure you have a sturdy base for your BBQ – if you don’t already have a suitable area of patio to build on, you’ll need to lay a concrete base or some slabs. The base should be level and sturdy enough to take the weight of the bbq without subsiding or sinking. Remember when you are building your base that you will need to stand in front of the BBQ to cook. It’s best to extend the base to cover a large enough area to enable you to work behind it comfortably.
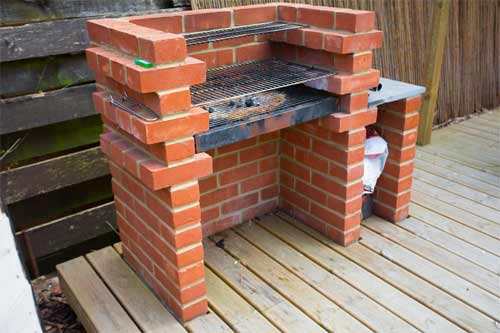
Building an outdoor brick barbecue – an easy to build project
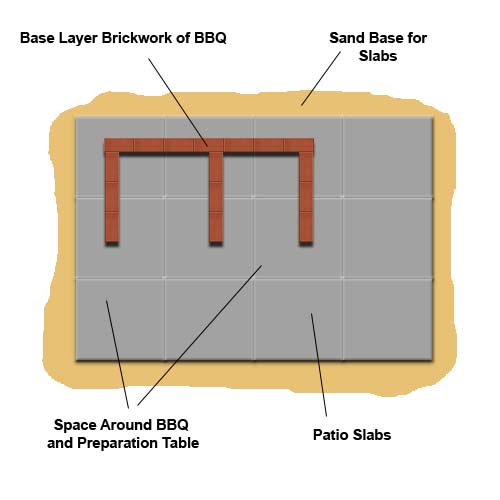
Lay out the first layer or “course” of bricks around the barbecue tray to ensure that you make it the correct size. If you are building a table on the side of your barbecue then you will need to arrange the bricks in a sideways “E” shape, so that the central wall supports both the barbecue and the table. At this point is it also important to mention that you will need to ensure that the width of the left cooking area is correct to take your cooking grill and coal tray. You don’t want it too wide or too narrow! Most that are available will have been manufactured to correspond to the width of a set number of bricks.
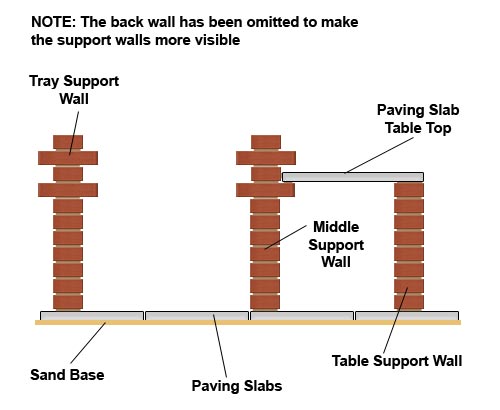
In terms of the middle wall please remember if you are going to add in a preparation table area then you will need to ensure that any bricks you lay sideways protrude both left and right so that not only do have a base for your charcoal or cooking grill but also a stable base for your table area. Add another standard course, then on the next course up turn bricks sideways again to form a ledge for the cooking grill. Repeat the standard course followed by another ledge, so that you have a choice of cooking heights. Add another ledge higher up if you wish to add a warming rack.
Here is a video at the end showing a different project, more complex this time.
https://www.youtube.com/watch?v=fBjPTHalYlU